Downgrade Nexus 5 and 7 to Android 4.4 KitKat from Android L Developer Preview

Last week, Google released the Developer Preview builds of Android L for the Nexus 5 and the Wi-Fi variant of Nexus 7 (2013). Even though this was a developer preview, it did not stop many impatient Android lovers from installing it on their device.
Now, if you are done with most of your app crashing and random bugs ruining your Android L experience, and are wondering how to go back to Android 4.4 KitKat, follow the instructions below.
The below steps will require that your Nexus device has an unlocked device, which should already be the case since installing the Android L also requires an unlocked bootloader. Also, make sure to backup all your important photos, contacts and other files since the below method will wipe your internal memory clean. There is no point in backing up your app data since restoring them once you switch back to KitKat will lead to stability issues.
Download the required files
Step 1: Download the Android 4.4.4 KitKat factory image and the required Fastboot/ADB files from below.
- Nexus 5 KitKat factory image
- Nexus 7 (2013, Wi-Fi) KitKat factory image
- ADB/Fastboot Installer for Windows
- ADB/Fastboot for Mac
Windows users, make sure to install ADB and Fastboot system-wide when prompted by the installer.
Extract the contents of the factory image inside a new folder called “kitkat” on your desktop. Mac owners, make sure to extract and paste the ADB/Fastboot files inside this directory as well.
Booting into the right mode
Step 2: Reboot your Nexus 5 or 7 to bootloader mode by using the key combination mentioned below.
- Nexus 5: Volume Up + Volume Down + Power button
- Nexus 7: Volume Down + Power button
Step 3: Connect the device to your PC and then proceed to open up a new Command Prompt or Terminal window. Then, navigate to the “kitkat” folder created in Step 1 containing all the files extracted from the factory image using the “cd” command. For eg: cd /USERNAME/desktop/kitkat
Flashing the image
Step 4: Enter the following command to make sure that your device is properly detected and there are no driver issues.
fastboot devices
Mac owners, make sure to prefix a “./” before every Fastboot/ADB command you try to execute. If Fastboot returns you the device ID, you are all set to proceed to the next step.
Step 5: Now, enter the command below to start to start the factory image flashing procedure.
Windows:
flash-all.bat
Mac:
./flash-all.sh
Troubleshooting
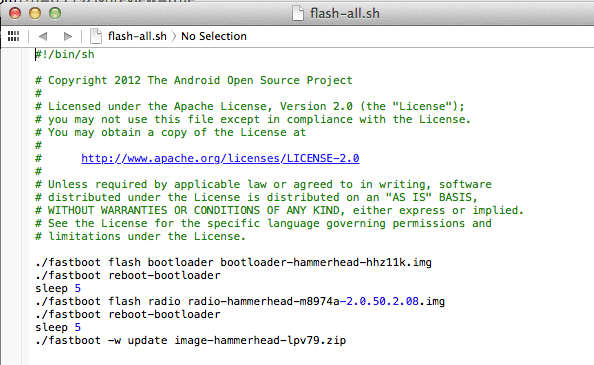
Mac owners, if you get a fastboot not found error, open the “flash-all.sh” file in TextEdit and prefix a “./” before every command. Then, re-execute the above command.
Windows owners, if you get a similar error, copy/paste the ADB/Fastboot files from C:/Username/adb folder to the “kitkat” folder on your desktop and then repeat the above step.
Re-locking the bootloader
This will also be a good time to relock the bootloader of your Android device. Once the factory image has been flashed, simply execute the below command to relock the bootloader.
fastboot oem lock
This way your Nexus device will return to its original state and you will once again be eligible to receive OTA updates directly from Google.
Once the bootloader has been relocked, disconnect your device and restart it to boot into KitKat. If your device takes an absurdly long time to boot, don’t panic since the first boot always takes its own sweet time.
If you are still facing any issues, drop in a comment and we would be glad to help.

