How to root your Nexus 5 running Android 4.4.3 KitKat
If you already have root access on your Nexus 5, you will not be getting the Android 4.4.3 OTA update as the files in the /system partition have been modified. In this case, you will have to manually update your Nexus handset to the latest flavor of KitKat.
However, the update will rewrite the custom recovery with the stock Android recovery and remove root access as well, which means you will have to re-root the handset again. Below is a quick guide which should help you get the job done.
The steps below will also work if you are rooting your Nexus 5 for the first time, though it means that you will have to unlock the bootloader, which in turn will wipe your handset clean of all data.
Download the required files
1. You will first need to download TWRP and the required ADB/Fastboot files linked below.
- TWRP for Nexus 5
- ADB/Fastboot: Windows, Mac, Linux
Extract the contents of the ADB/Fastboot ZIP file inside a new folder called “android” on your Desktop. Rename the TWRP image file to something simpler like “n5.img.”
2. Reboot your Nexus 5 into bootloader mode by switching it off first and then pressing the Volume Up + Volume Down + Power button, simultaneously.

3. Open up a new command prompt/Terminal window and navigate to the “android” folder you had created in Step 1. If you are using Windows, use the Command prompt to navigate to this folder. Simply press Shift and right click on the folder name and select the Open command window here option.
On Mac and Linux based PCs, open Terminal and navigate to the folder by using the “cd desktop/android” command.
4. Connect the Nexus 5 to your PC and enter the following command to make sure that it is detected properly:
fastboot devices
Mac owners, make sure to prefix a “./” before every Fastboot/ADB command you issue.
[Optional] If you are rooting your handset for the first time, you will first need to unlock its bootloader, which will format its internal storage.
fastboot oem unlock
Make sure to accept the prompt on your Nexus 5 by pressing the Volume Up button. Once the bootloader is unlocked, your device will automatically reboot into Android OS and you will have to set everything up again.
Once you are done with everything, reboot the handset into bootloader mode by repeating the above steps.
Flashing the recovery
5. You will now need to flash the TWRP image file on your Nexus via the following command:
fastboot flash recovery n5.img
Note that the “n5.img” is just the file name of the recovery image here, which might vary in your case.
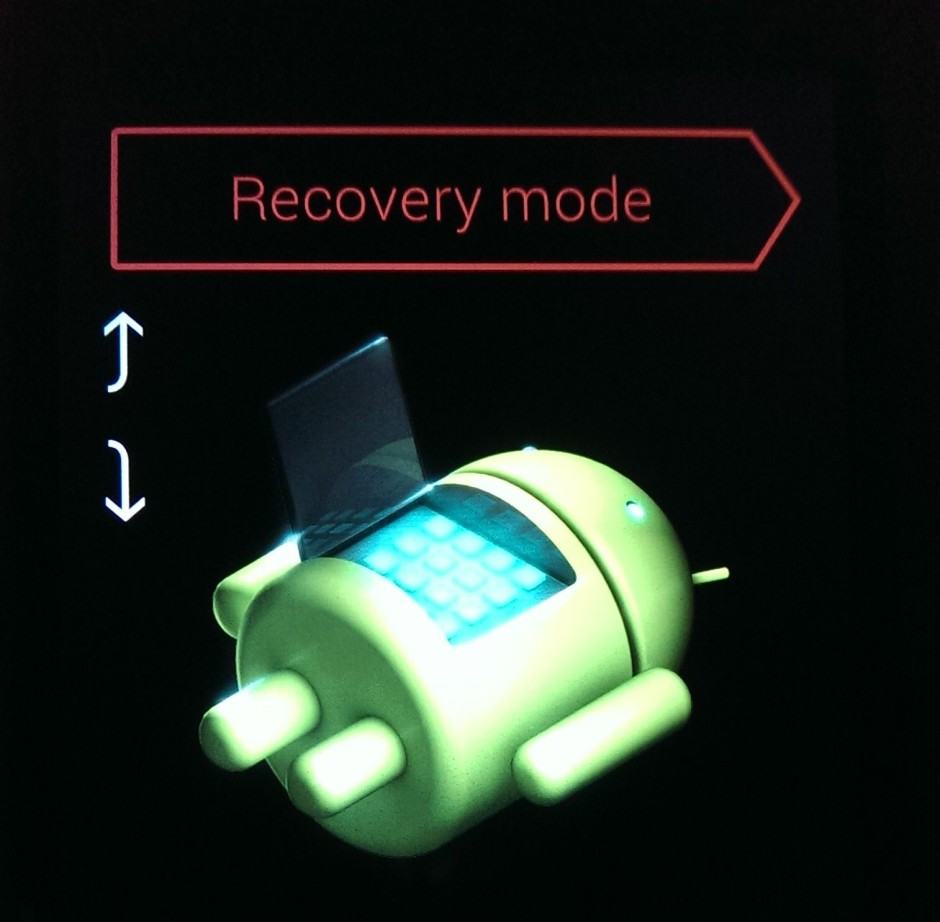
6. Now, using the Volume buttons on your Nexus 5, scroll to the Recovery mode option and confirm your selection by pressing the Power key.
Rooting the handset
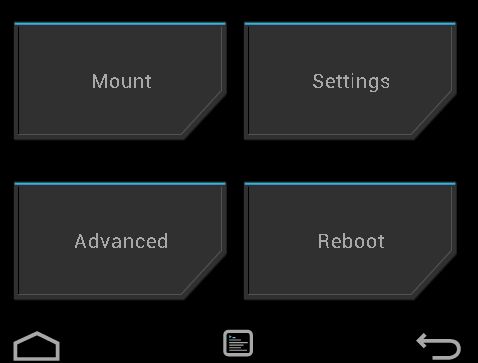
7. Once your Nexus 5 boots into TWRP recovery, simply head over to the Reboot menu and select System. TWRP recovery will now automatically inform you that your device is not rooted. Simply swipe the bar at the bottom for TWRP to root your device.
Make sure to update SuperSU from the Play Store before you start using apps that require root access.
If for some reason, you don’t want root access but want a custom recovery installed, select the Do Not Install option, which will automatically reboot your Nexus 5 into Android OS.
Facing any issues? Drop in a comment and we will be glad to help you.

