How to install Android 4.4.3 on your Nexus 5, Nexus 4 and Nexus 7
Google has just started rolling out the Android 4.4.3 update for the Nexus 5 and its other Nexus branded siblings. While the company has already uploaded the factory images and binaries on its website, the OTA update is yet to go live.
The Android 4.4.3 update does not really bring with it any major new features or improvements, except for an improved Dialer and People’s app, and is mainly focused on squashing some internal bugs and improving the overall security level of the OS.
If you cannot wait for the OTA update to land on your Nexus 5 or other Nexus devices, you can always flash the factory image manually to get Android 4.4.3 up and running on it in no time. The steps below will not wipe your data but requires users to have an unlocked bootloader on their Nexus devices, which is a bummer.
I have also included the steps to unlock the bootloader below, but keep in mind that it will wipe clean your device of all data. The steps below will also work if you have a custom ROM, kernel or have root access on your Nexus device. However, keep in mind that then you will have to wipe everything otherwise the device will enter into a bootloop.
Downloading the required files
1. Head over to Google’s website and download the Android 4.4.3 factory image for your Nexus devices. I have also linked to them below, just in case you cannot find the correct link on the website:
- Nexus 7 (2012) (Wi-Fi)
- Nexus 7 (2012) (3G)
- Nexus 7 (2013) (Wi-Fi)
- Nexus 7 (2013) (3G) – N/A
- Nexus 10
- Nexus 4
- Nexus 5
2. Now, you will need to get your hands on the required ADB/Fastboot files, which can be downloaded from below:
- Windows – Download link
- Mac – Download link
- Linux – Download link
Booting into Fastboot
3.Extract the files of the ADB/Fastboot ZIP file inside a new folder named android on your desktop. If you are using Windows, use the Command prompt to navigate to this folder. Simply press Shift and right click on the folder name and select the option to “Open command window here”.
On Mac and Linux based PCs, open Terminal and navigate to it by using the “cd desktop/android” command.
4. You will now need to reboot your Nexus into Bootloader mode. The process varies from device to device though. On the new Nexus 7, users will need to switch off the device and then press the Volume down + Power button.
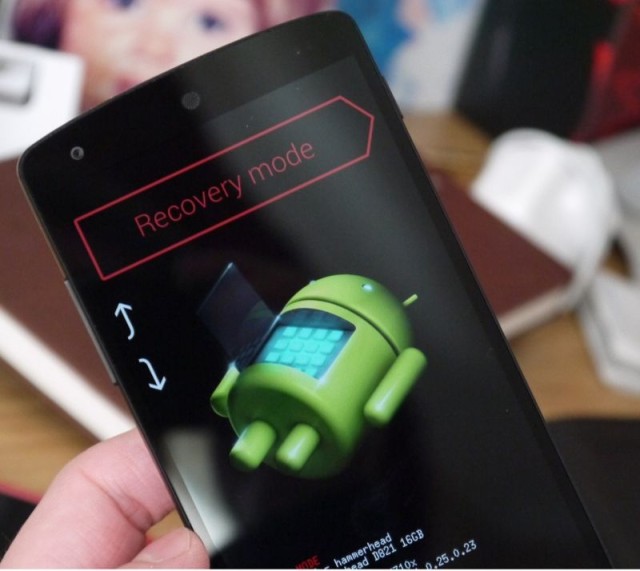
On the Nexus 5 and Nexus 4, switch off the device, and then simultaneously press the Volume up + Volume down + Power button. This should get you into Bootloader mode.
Setting everything up
5. Make sure that your Nexus device is detected by the PC by using the following command:
fastboot devices
Mac users, you need to prefix a “./” before every fastboot/ADB command issued.
6. If you have not already, unlock the bootloader of your device by issuing the following command. Keep in mind though, that this will wipe all your data present on the device. Skip to the next step if the bootloader on your Nexus is already unlocked.
fastboot oem unlock
Make sure to press the Volume Up button on your device to confirm the bootloader unlocking process. After this your Nexus device will automatically reboot into Android. Repeat Step 4 to boot the device back in bootloader mode.
Installation
7. Extract the contents of the Factory image inside the same android folder that you had created in Step 3.
[Optional] If you don’t want to lose your data whilst flashing the factory image, open up the flash-all.bat file and remove –w from the fastboot update line. Mac and Linux users will need to open and edit the flash-all.sh file. If you are coming from a custom ROM or kernel, do not follow this step as you will have to wipe the data.
You can edit the files by opening them in Notepad (on Windows) or TextEdit (on a Mac). Make sure to save your changes before exiting the application.
8. Finally, in the command prompt or Terminal window you had opened in step 3, type in the name of the edited file and press enter.
For example, Mac owners will need to enter this in the Terminal window:
./flash-all.sh
If you get a command not found error, open up the file and prefix a “./” before every fastboot command.

Windows users can either double click on the flash-all.bat file or type in its name in the command prompt window and press enter.
Once the flashing process is complete, your device will automatically reboot into Android OS. The first boot process will take some time as the OS needs to recreate the cache files for all your installed apps and games.
Facing any issues? Drop in a comment and we would be glad to help!

