How to root your Moto E the right way

If you thought Motorola revolutionised the low-end smartphone market with the Moto G, wait until you get your hands on the Moto E. The company has managed to hit another home run with the Moto E, which is already selling like hot cakes in India and Brazil.
For its price, the Moto E offers much more than what you can expect, and even beats the Galaxy S5 in terms of UI performance. Like any other recent Motorola phone, rooting the Moto E is pretty easy, provided you are ready to unlock the bootloader and void its warranty in the process.
There are many benefits of rooting the Moto E including the ability to run some extremely powerful apps and using Greenify to stop apps from running in the background and draining resources. Rooting also allows you to jump into the world of custom ROMs, whenever they pop-up for Motorola’s latest low-budget wonder.
Before you jump to the steps below, make a backup of all your data on the phone. You will also need to unlock the bootloader on the handset, which will wipe it clean of all data.
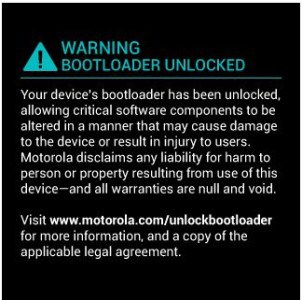
Unlocking the bootloader
1. First of all, you need to head over to Motorola’s official website and follow the steps mentioned their to unlock the bootloader of your Moto E. This will void the warranty of your device though.
Downloading the required files
2. Download all the files linked below.
Extract the ADB and Fastboot files inside a new folder called moto on your desktop. Also, transfer the SuperSu ZIP file to the internal storage of your Moto E. Lastly, transfer the TWRP image file inside the moto folder and rename it to “motoe.img”.
Flashing a custom recovery
3. Before you can gain root access, you will need to install a custom recovery on the Moto E. To do this, boot the handset in bootloader mode by switching it off first, and then pressing the Volume down + Power button, simultaneously.
4. On your PC, open a new Command prompt or Terminal instance and navigate to the moto folder created in Step 2. You can use the cd foldername command to navigate to it.
5. Connect the Moto E to to your PC and enter the following command:
Mac owners, make sure to prefix a “./” before every command.
If all the drivers were properly installed, your Moto E should be detected and fastboot will return the serial ID of your device.
6. Now, flash the TWRP recovery on the handset by using the command below:
fastboot flash recovery motoe.img
Once the recovery image has been flashed successfully, reboot your device either manually or by using the fastboot reboot command.
Rooting the device
Once your handset has booted into Android, you will need to reboot it into Recovery mode. You can do this by switching it off first, then holding down the Volume down + Power button for a few seconds.
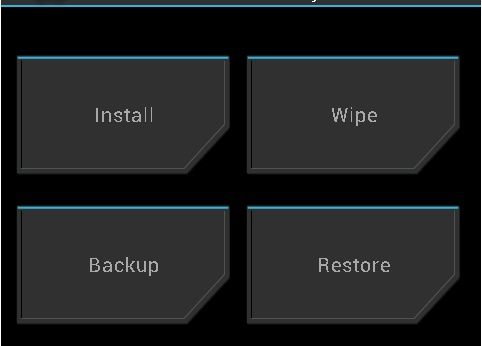
Once you boot into TWRP recovery, tap on Install and select the SuperSU ZIP file that you had transferred in Step 1. The installation should hardly take a few seconds, after which which you need to boot into Android by tapping the ‘Reboot system’ option.
Congrats! You have successfully managed to root your brand new Moto E. If you are new to the rooting world, make sure to read this article to find out about some of popular Android apps that require root access to work properly.

