Manually Install The Android 4.4 KitKat Update On Your Nexus 4 [How-To]

Google has been pretty slow in rolling out the Android 4.4 KitKat OTA update for the Nexus 4. While the OTA started rolling out a couple of days ago, majority of the Nexus 4 owners are yet to get the update. The good news is that the download link of the OTA update has been grabbed by a samaritan on the Internet, giving impatient Nexus 4 owners the chance to install the KitKat update on their device right away.
The method below will not wipe the data on your device, or void its warranty. You also don’t need to unlock the boot loader or root the device. Instead, the installation process only requires you to boot the Nexus 4 into Recovery mode and use the side load command to load the OTA zip on the phone.
Files You’ll Need
1. First you will need to setup ADB/Fastboot on your PC. Download the files below, depending on the OS your PC runs, and extract them inside a new folder called ‘google’ on the desktop.
Now, proceed to download the KitKat OTA update from here, rename it to “ota.zip” and transfer it inside the ‘google’ folder on your desktop.
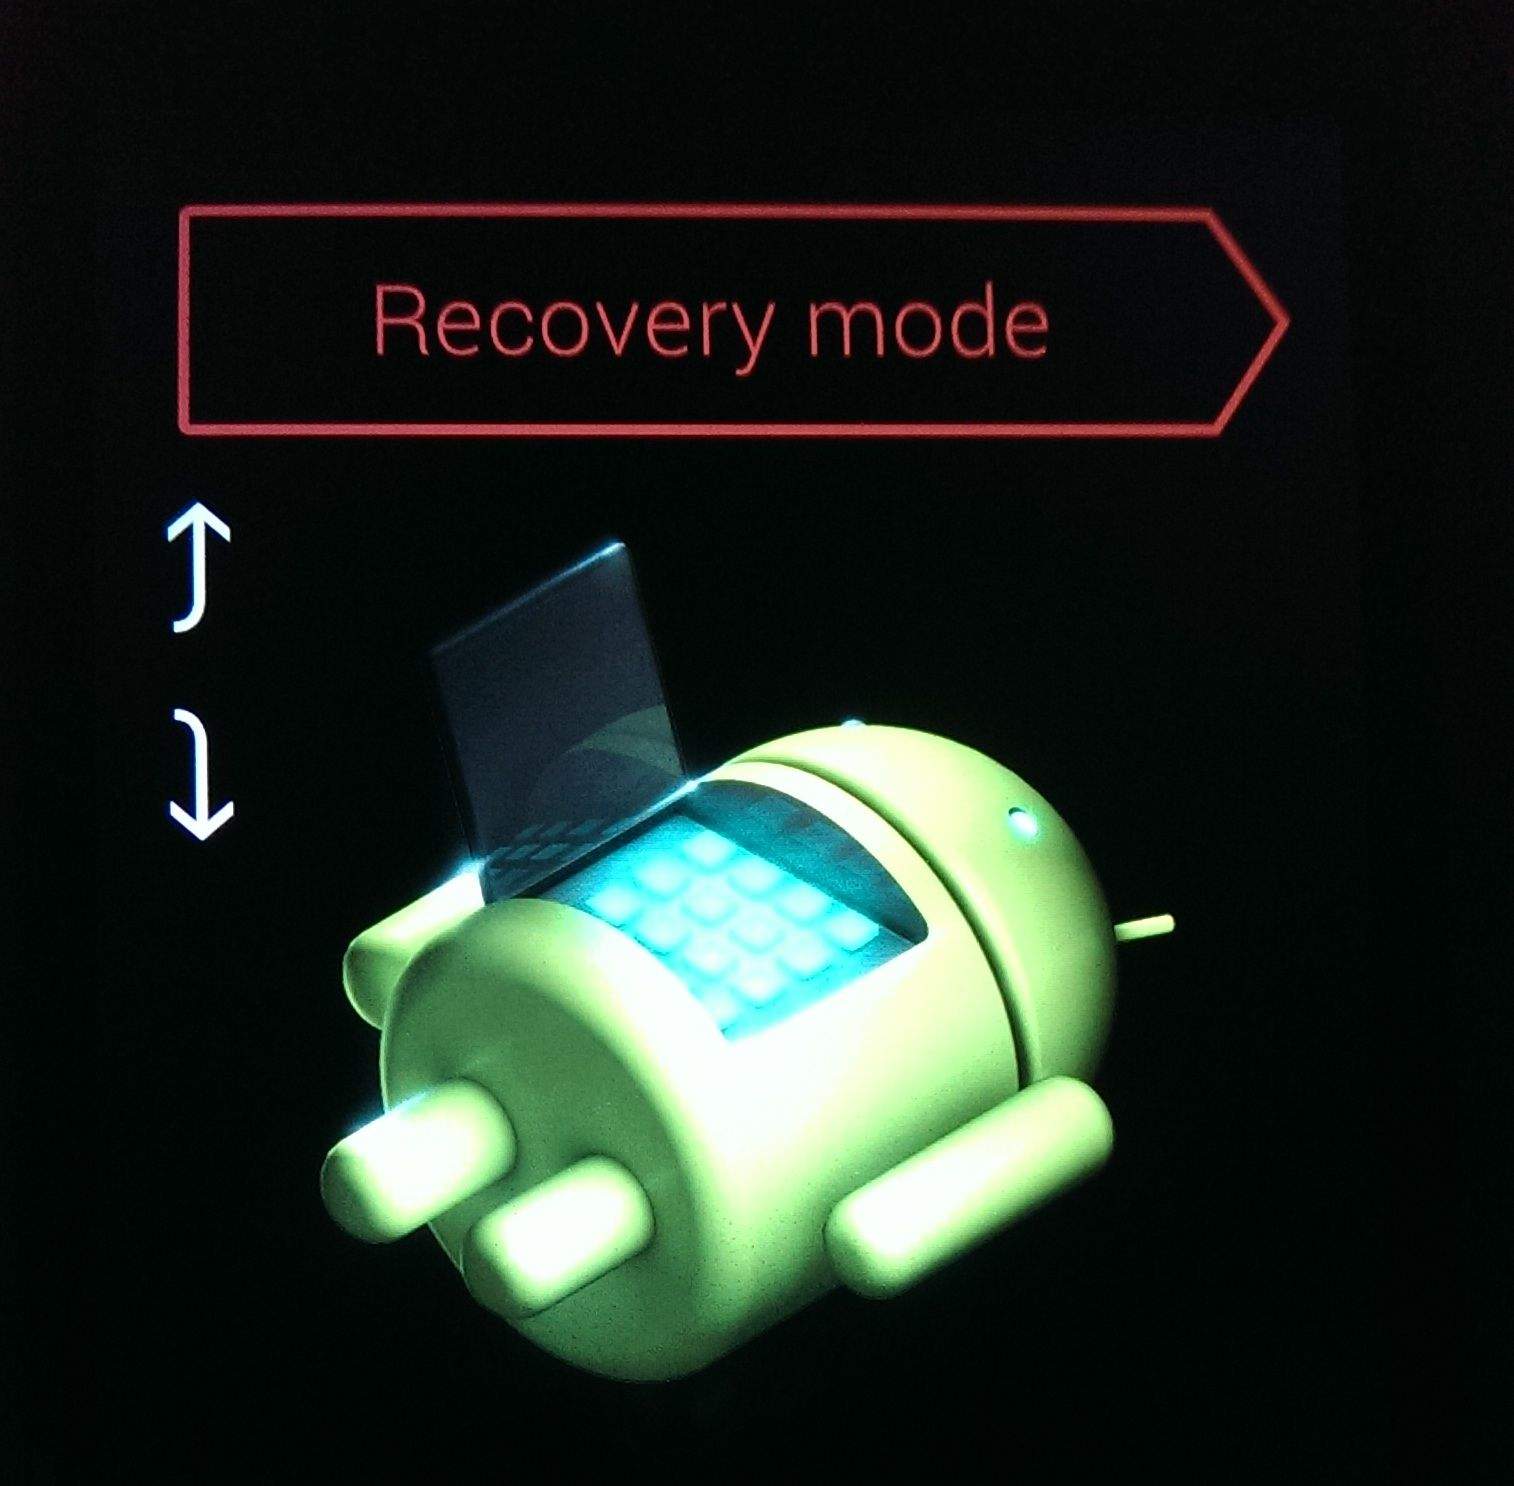
2.Put your Nexus 4 into Bootloader mode by switching it off, and then pressing the Volume Up + Volume down + Power button, simultaneously. Once the device has booted into boot loader mode, connect it to your PC. Use the Volume keys on your Nexus 4 to select ‘Recovery mode’ and confirm your selection by pressing the Power key.
3. After your device has booted into Recovery mode, it will show an Android logo with a red exclamation mark. Press the Volume Up + Power button, simultaneously, a few times and your Nexus 4 will boot into the stock Android recovery. Also, try pressing the Power button for a second and then press the volume up button once.
Booting into stock recovery can be a bit finicky so you might not be successful right at the first attempt. After you have booted into recovery, use the Volume keys to highlight the ‘apply update from ADB’ option and confirm it by pressing the Power key.
Installation
4. Now, open a new Command prompt or Terminal window and navigate to the ‘android’ folder on your desktop. In the command prompt or Terminal window, enter the following command:
adb sideload ota.zip
The OTA file will then be automatically copied over to the handset, and the installation process will start. If you had not tampered with any of the System APKs, the update will install without any issues.
Once it is complete, use the ‘reboot system now’ option to boot into your Nexus 4 for some KitKat goodness. The first boot can take up to a few minutes so please be patient.
Did you get the OTA update or had to manually install the update using the above guide? Do drop in a comment and let us know!

