5 easy tips to make your smartphone photos shine

Smartphone cameras have improved tremendously in the last few years but a camera is only as good as the photography skills of the person using it. If your photography skills are poor, it does not matter whether you use a Lumia 1020 or an HTC One, the final images will still come out looking mediocre.
Thankfully, photography skills are no rocket science and can be easily learnt by anyone. Below, we list down some tips that should help you in taking better photos with your smartphone camera.
Make use of the light source
Lighting plays an important part in any image. Use it wisely and you can take some jaw dropping images. Instead of standing behind a light source, always stand in the opposite direction. This way the light will actually fall on the subject and reflect back allowing the camera on your smartphone to absorb more light.
A camera is only as good as the photographer using it.
If you are out on a sunny day, then it is wise to make sure that your subject is standing on the opposite side of the sun.
However, when the sun is directly above your head, re-positioning your subject will not be fruitful and your images will still come out looking dull. Worry not though as our next tip should help you in these cases.
Adjust the exposure
Too much light can overwhelm the tiny camera sensor of your smartphone, which can lead to images being underexposed and dark. This is a particularly common issue if you are clicking pictures while the sun or the light source is directly on the top of your head.

An underexposed image
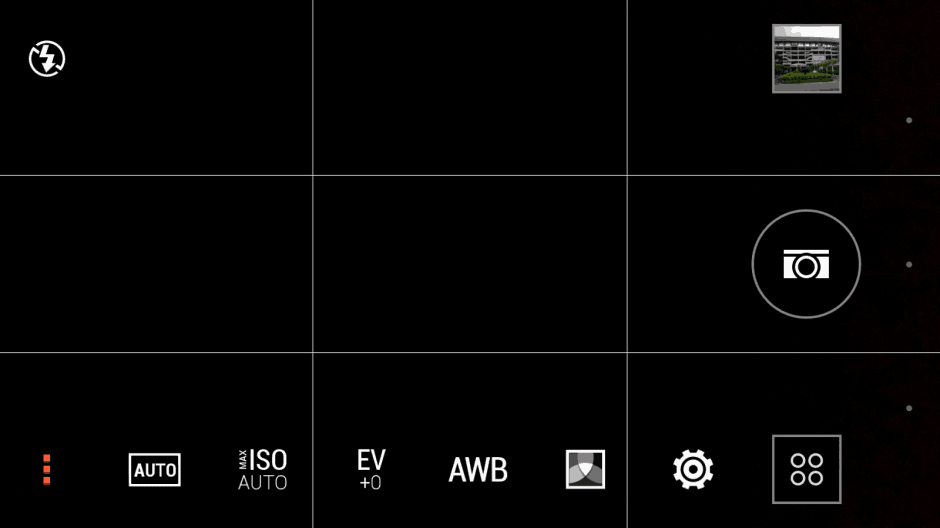
In such situations, make use of the exposure control offered by your smartphone camera app to make sure that the images don’t come out under exposed. In case there is too much light, decrease the exposure slightly and vice versa.
A word of caution: Use the Exposure slider wisely. You can manually later on increase the exposure of an under-exposed image using an image editing software, but any details lost due to an incorrect exposure level cannot be reclaimed no matter what you do.
HDR
Sometimes, you might need to click pictures with a very contrasting background. In such cases, increasing or decreasing the exposure level will not work, as it would lead to a loss of details and would fail to capture the scene correctly.

A beautifully done HDR shot from the HTC One M8
In such situations, make sure to switch to the HDR (High Dynamic Range) mode on your camera. Nearly all Android devices released in the last couple of years come with an HDR mode, so chances of it not being present in your device(s) are pretty much nil. In HDR mode, your smartphone will capture two images in quick succession with different exposure levels to make sure that the scene is captured beautifully with all the details intact.
Rule of thirds
This is perhaps the most basic rule of photography. If your image contains a subject, never keep it in the center. Instead, position it slightly to the left or right, as it would add a certain sense of depth to the image.
If you don’t want a dull and boring image, follow the rule of thirds.
Most camera apps come with an option to enable gridlines across the viewfinder to help you correctly place your subject somewhere around 2/3rd of from either the left or right edges. Make use of it if you are struggling to apply the rule of thirds properly.
Use the Night mode
Clicking images in low-light is still an Achilles heel for most of the smartphone cameras out there. Due to the small sensor size, they can only let in a limited amount of light, which greatly impacts the image quality. While the shutter speed can be slowed down to let more light in, it needs the user to have extremely stable hands, otherwise the resulting image would be very blurry. Another way is to raise the ISO value, which would make the individual pixels more sensitive to light. But if you crank the ISO levels too high, the final image will be filled with noise.
The night mode in most smartphones will offer the perfect combination of the settings mentioned above to help you capture the scene properly. They would keep the camera shutter open for slightly longer than usual and the ISO value will also be bumped to an acceptable level to make individual pixels more sensitive to light.
These five tips above should help you in taking great images from your smartphone camera. A few other quick tips that you can keep in mind is to stay as still as possible while taking an image to avoid blur and to take advantage of the extremely small shot-to-shot time in most smartphone cameras and take multiple shots of your subject.
Got any other tip to that would help users in taking better images from the camera of their smartphone? Drop in a comment and let us know!

