How To Use Google DNS Or OpenDNS On Your Android Device [How-To]
Have a blazing fast net connection but find it still takes ages to load a website? Blame the slow DNS servers of your ISP. Alternative and free DNS services like Open DNS and Google Local DNS are much faster, more reliable, and safer compared to the DNS servers used by your ISP. They’re also handy if your operator’s DNS server is down.
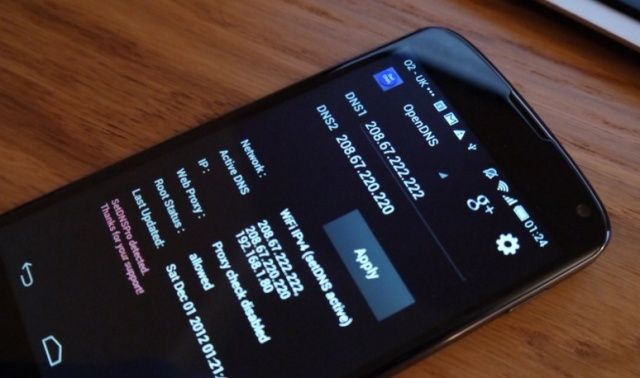
While none of the Android devices come with an option to change the DNS server used by your device when on a 3G or 4G network, an application in the Play Store — SetDNS (free) — is capable of doing so, provided you have root access. Here’s what to do.
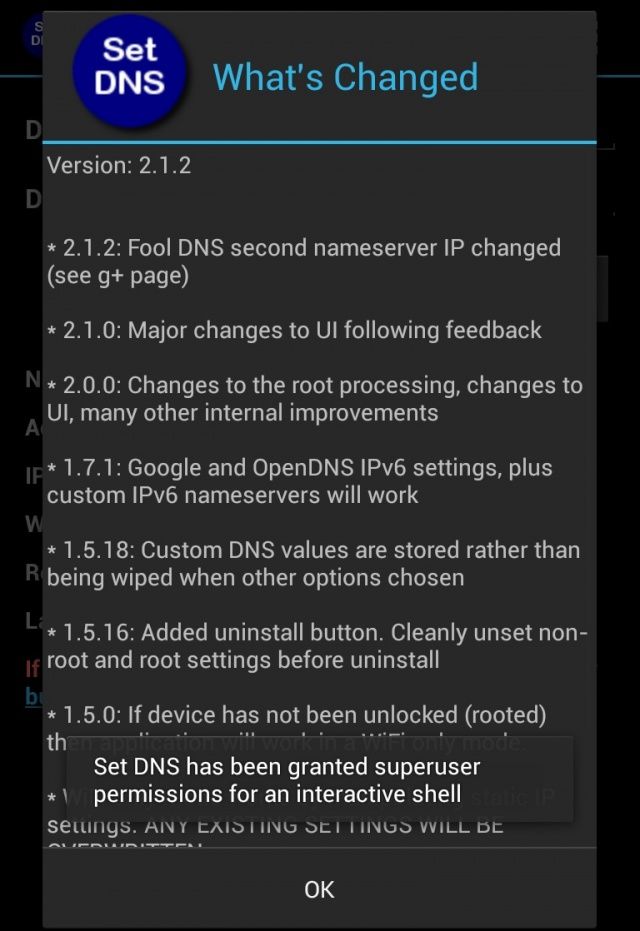
1. Download and install SetDNS from the Play Store. When starting the app for the first time, a SuperSu/SuperUser pop-up will come up asking for root access. The app needs root access to change the DNS server used by your Android device when connected to a mobile network.
Without root access, it will only change the DNS server your Android device uses when connected to a Wi-Fi network.
2. Now, you need to select which alternative DNS service you want to use. By default, SetDNS loads the Google DNS address, but it is only applied once you press the Apply button.
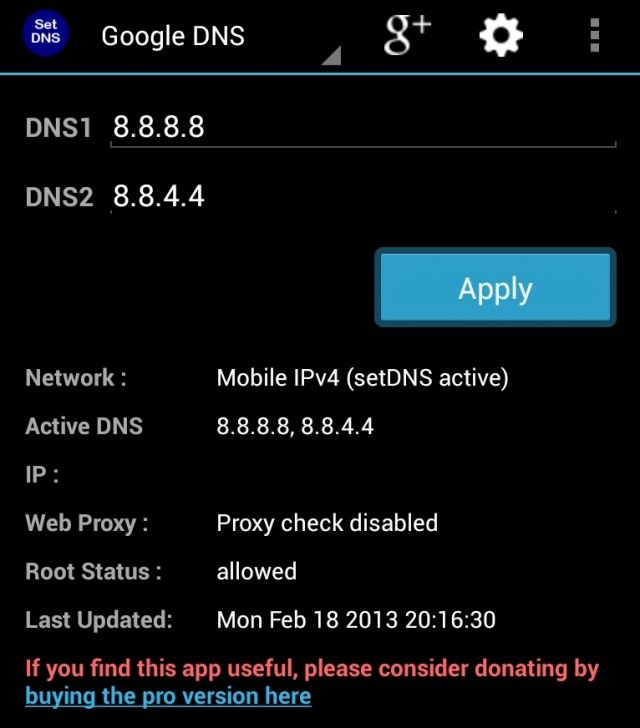
You can even use a custom DNS server by selecting the custom option from the action bar.
The free version of SetDNS will only work for 24 hours, after which you need to buy the paid ($1.99) version of the app. There are some free alternatives available to SetDNS on the Play Store though, including DNS Changer.

