How to root the Sony Xperia Z2
Sony’s latest flagship — the Xperia Z2 — ships with an unlockable bootloader except if you end up buying a carrier variant, which might ship with a locked down bootloader. An unlockable bootloader means that the Xperia Z2 is an extremely easy device to root and the process is very similar to how one can gain root access on the Nexus, HTC and Motorola devices.
If you have recently purchased a brand new Xperia Z2 and are looking to root it, worry not as we have got you covered. Simply follow the steps mentioned below and you will be enjoying all the powers that root access brings on your Z2 in no time.
Warning
A word of caution before you proceed though. Unlike HTC and Nexus devices, unlocking the bootloader on any Sony device, including the Xperia Z2, will lead to loss of some features and also void its warranty. Unlocking the bootloader will wipe the TA partition on the Z2, which is required for the X-Reality engine and the Track ID app to work properly.
Personally, I have never used Track ID and the loss of X-Reality engine does not really bother me much since I never noticed it making any perceptible changes to the images and videos in the first place anyway.
Backup
The first step, as always, is to make a backup of all your data on the phone including the one on the internal storage. Sony has pre-loaded an excellent Backup & Restore app on the Z2 that can be used to create a backup of all your installed apps and their relevant data. However, make sure to save the backup on an external SD card since the internal memory will be formatted during the rooting process.
Unlocking the bootloader
Once you are done with the backup, head over to Sony’s website and unlock the bootloader of your Z2. You will find out during this process whether the bootloader of your handset is unlockable or not. If not, the below guide won’t be of any use to you. Instead, you should head over to this thread on XDA where some developers have created a script for gaining root access on an older firmware of the handset via an exploit.
Download the required files
You will now have to download the SuperSU ZIP file and the TWRP recovery for the Xperia Z2 linked below. In case, you did not setup ADB/Fastboot while unlocking the bootloader, you can download them from below as well.
Extract the ADB/Fastboot files inside a new folder called z2 on your desktop. Transfer the TWRP image file inside this folder and rename it to twrp.img as well. Also, transfer the SuperSU ZIP file to the Z2’s internal storage.
Keep in mind that the above TWRP recovery will only work with the 402 firmware for the Xperia Z2. Unlike other devices, a recovery must be packed with a kernel before it can be flashed on the Z2. So, the stock 402 kernel has been repacked with TWRP recovery, which is linked above, and it is not compatible with any other firmware.
If you are on any other firmware, I’d recommend you to first upgrade/downgrade to the 402 FW or else search XDA forums for a recovery that is packed with a kernel compatible with your FW. You can also find the latest TWRP recovery packed with an appropriate kernel for your firmware here as well. The file name containing repack in their names are the ones that have the stock kernel packed with a recovery in their image file.
Flashing the recovery
On your PC, open a new command prompt or Terminal window and navigate to the z2 folder on your desktop using the cd command.
Switch off your Xperia Z2 and whilst pressing the Volume Up button, connect it to your PC. You will notice the notification LED will glow up in blue, indicating that the handset has successfully entered fastboot mode.
Enter the following command in the Terminal or command prompt window to make sure that the device is detected by your PC:
fastboot devices
Mac owners, make sure to prefix a “./” before every fast boot command. If your device has been detected successfully, fast boot will return its device ID. You can then proceed to the next step. If not, repeat the above two steps again.
You will now have to flash the kernel + recovery combination on your Xperia Z2 using the fast boot command below:
fastboot flash boot twrp.img
Then, proceed to reboot your device either manually or by using the fast boot command below:
fastboot reboot
Installing SuperSU
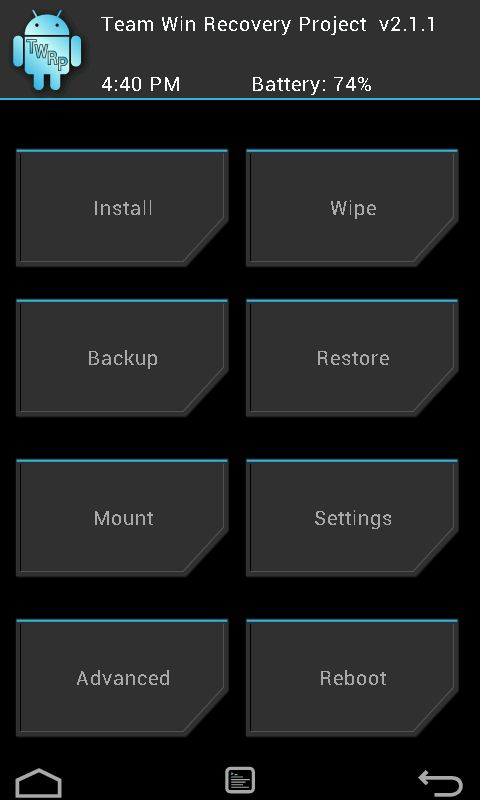
Finally, you will now have to install SuperSU via TWRP recovery to gain root access on the handset. Restart your Z2 and press the Volume down button repeatedly as soon as screen lights up.
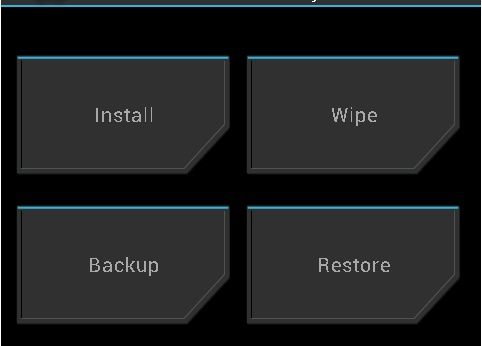
Once the phone has booted into TWRP recovery, tap the Install button and select the SuperSU ZIP file, which you had transferred to your device previously. The flashing procedure will be almost instantaneous after which you need to reboot the device.
Once the Z2 boots back into Android, check your app drawer for the SuperSU app. If it is present, you have successfully managed to gain root access on your Z2 and can now proceed to enjoy all the powerful apps that require root access to work properly.

